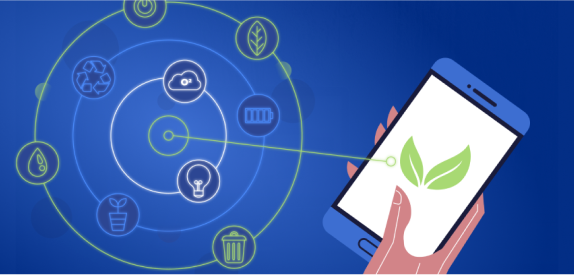
In an era where sustainability is paramount, it’s high time we consider the environmental impact of our digital footprint. The internet is an indispensable part of our lives, but it also consumes vast amounts of energy and contributes to carbon emissions. Fortunately, you can take steps to make your website carbon neutral and contribute to a greener, more sustainable web. Join us on this journey as we explore five actionable steps to minimize your website’s environmental impact.
Step 1: Measure Your Carbon Footprint

The first step towards making your website carbon neutral is to understand the extent of its carbon footprint. Several online tools and calculators are available to help you estimate the environmental impact of your website. Factors like server energy consumption, data transfer, and user traffic all contribute to this footprint. By quantifying your website’s emissions, you can set a benchmark for improvement.
Step 2: Choose Eco-Friendly Web Hosting
Selecting the right web hosting provider can significantly reduce your website’s carbon footprint. Look for hosts that use renewable energy sources, implement energy-efficient data centers, and have a commitment to sustainability. Green web hosting providers are increasingly common and offer a greener alternative to traditional hosting services.
Step 3: Optimize Your Website’s Performance
A lean and well-optimized website not only provides a better user experience but also reduces its environmental impact. Minimize the use of resource-intensive elements like large images and unnecessary scripts. Implement lazy loading to load images only when they are in the user’s viewport, and use content delivery networks (CDNs) to distribute content efficiently.

Step 4: Offset Your Emissions
While reducing your website’s carbon footprint is crucial, it’s unlikely you can eliminate it entirely. To achieve carbon neutrality, consider investing in carbon offset initiatives. These programs support renewable energy projects, reforestation efforts, or other eco-friendly activities that help balance the emissions your website generates. Calculate your emissions and purchase offsets accordingly to make your website carbon neutral.
Step 5: Educate and Advocate
Making your website carbon neutral is a commendable step towards sustainability, but don’t stop there. Educate your users about your efforts to reduce your website’s environmental impact. Encourage them to adopt eco-friendly digital habits, such as reducing data usage and energy consumption. Advocate for a more sustainable web by sharing your journey and inspiring others to follow suit.
Step 6: Compression Techniques
To ensure your web images load swiftly, you’ll need to employ various compression techniques. We explore the world of lossy and lossless compression, as well as tools and plugins that can automate the process. Balancing image quality and file size is an art, and understanding the tools at your disposal is essential.
Step 7: Responsive Images

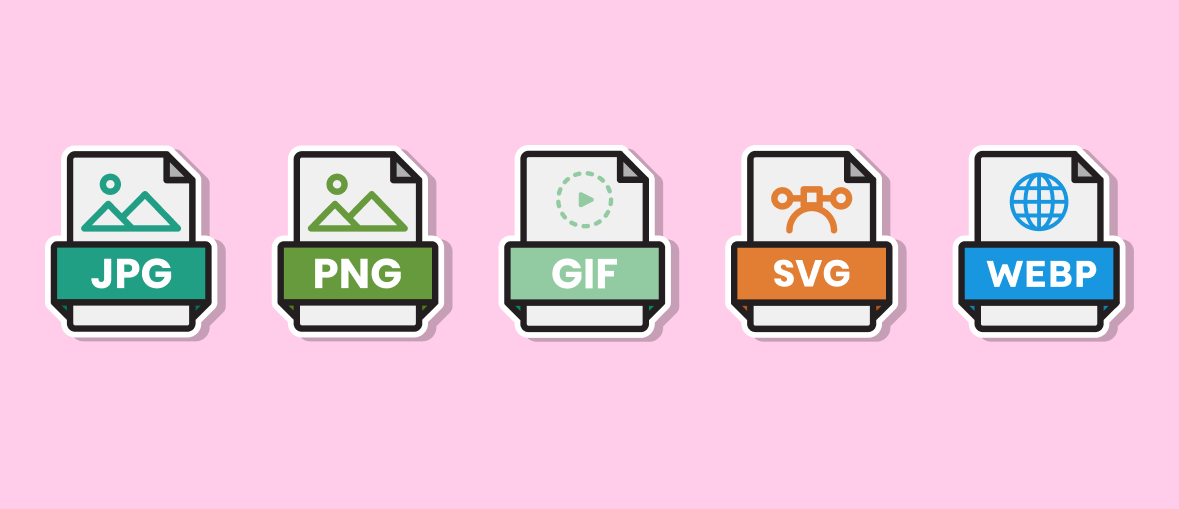
Enter the world of PNG (Portable Network Graphics). When it comes to images with transparency, like logos and icons, PNG is the knight in shining armor. With its lossless compression, it retains pixel-perfect quality, even when the background is transparent. However, be mindful of file sizes; PNGs can get hefty, so choose wisely.
Conclusion
Choosing the best image formats for the web is more than just a technical decision; it’s an art form. It involves balancing visual quality with load times, ensuring compatibility across various devices and browsers, and optimizing for search engines. Our journey has taken us through the classics like JPEG and PNG, the charm of GIFs, and the modern solutions of WebP and SVG. Armed with this knowledge, you can create a web experience that not only looks stunning but also performs like a well-oiled machine. So, go ahead and unveil the magic of image formats on the web – your digital canvas awaits!